Discover what's new for Fall 2024

The Power of Light and Shadow in Cinematography

It would make sense that lighting a subject would involve aiming a light at the subject and turning the light on.  While this rather direct approach works some of the time, it often makes harsh shadows and creates a very unnatural look, especially when that light is the key light.

Remember that good lighting involves making shadows, provided those shadows are in the right place. In real life, we humans are able to determine depth and distance because we have two eyes. Our eyes work together, each one seeing an object from a slightly different angle.  When our brain puts these two images together, we are able to see depth. This process, called triangulation, helps us determine the distance between objects or the distance from an object to our face. Incidentally, the closer an object is to our eyes, the more depth sensitive we are and the farther away it is, the more difficult it is to determine depth.  For example, if you hold your finger at arms length and move it 12 inches toward your face, your brain will detect that change in distance much more than if a friend, standing 100 feet away, moves his finger 12 inches closer to you.

It is for the same reason that it is difficult to tell how far away stars are relative to each other. The angle between the stars to our left eye and the stars to our right eye is so narrow, that we can’t tell how far away they are from us, or from each other.

Unfortunately, a camera doesn’t have depth perception because it only has “one eye…” the lens. So, in order to create depth, you have to use shadows, and shadows are created by lighting.

There are good shadows and bad shadows. Bad shadows are created when a light casts a harsh shadow of the subject onto the background, which draws the audience’s attention to the presence of the light.  Good shadows are created by proper light placement, resulting in contrast… one side of the subject is brighter than the other.  Instead of shadows being cast on the background, shadows are created by the object itself, on itself, like the earth and the sun.  One side of the planet is always in the light and the other side is always in shadow.

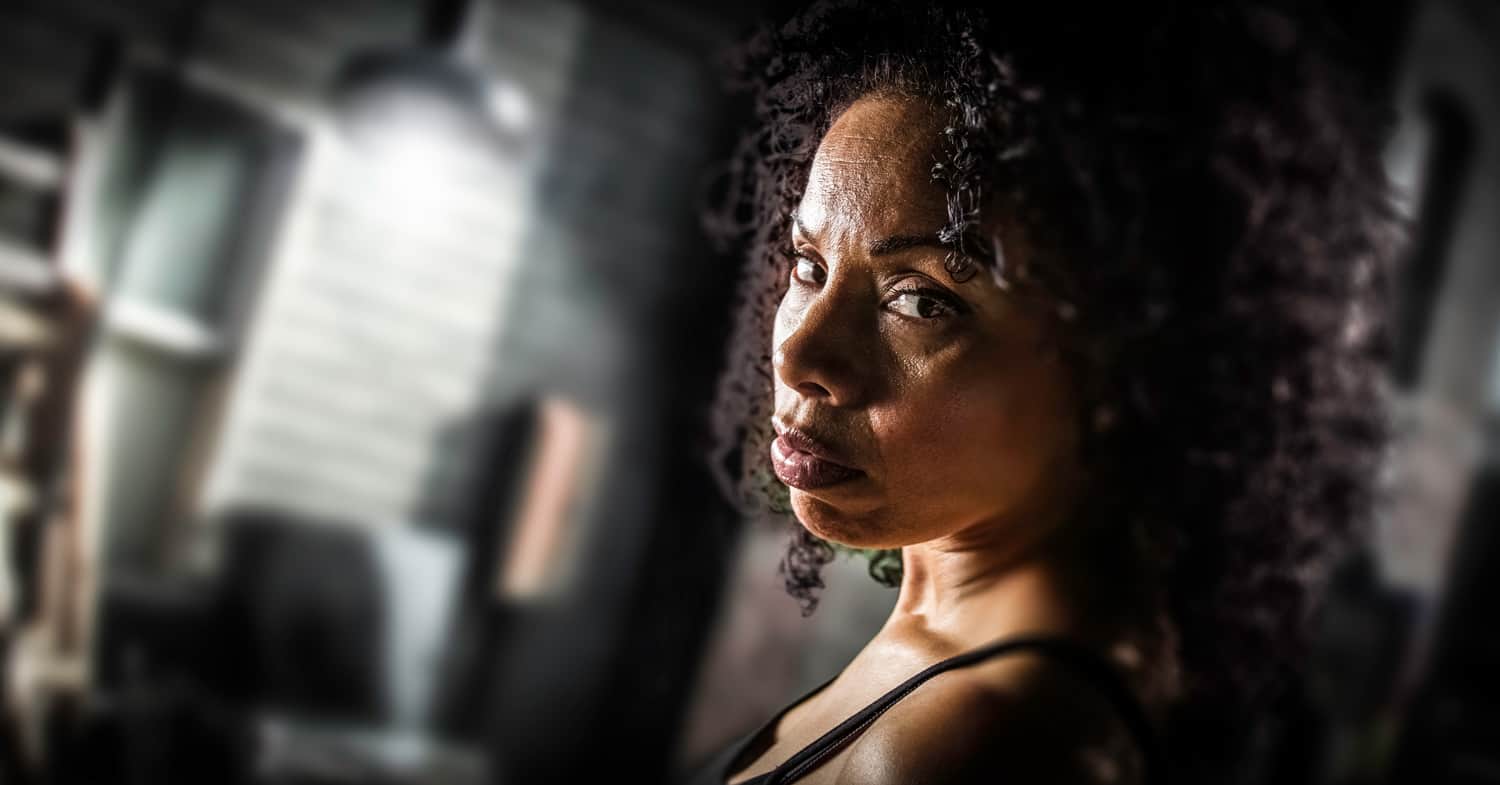
The transition between the bright and dark sides of a subject’s face is called the “wrap around.” A harsh, distinctive line between the bright and dark sides of a subject’s face is called a hard wraparound, whereas a soft, transition from dark to light is a soft wraparound.  Famous female movie stars of the 1940’s and 1950’s look glamorous because of soft wraparound.

You can create a soft wraparound by increasing the size of the light source – by adding a large diffusion in front of the light, reflecting light off a white piece of foam core (available at an office supply store), wall or other reflective surface. The larger the light source and the closer to the subject, the softer the wrap around. Learning these lighting techniques will greatly improve the quality of the movie image.

How to Hire the Best Cinematographer For Your Film

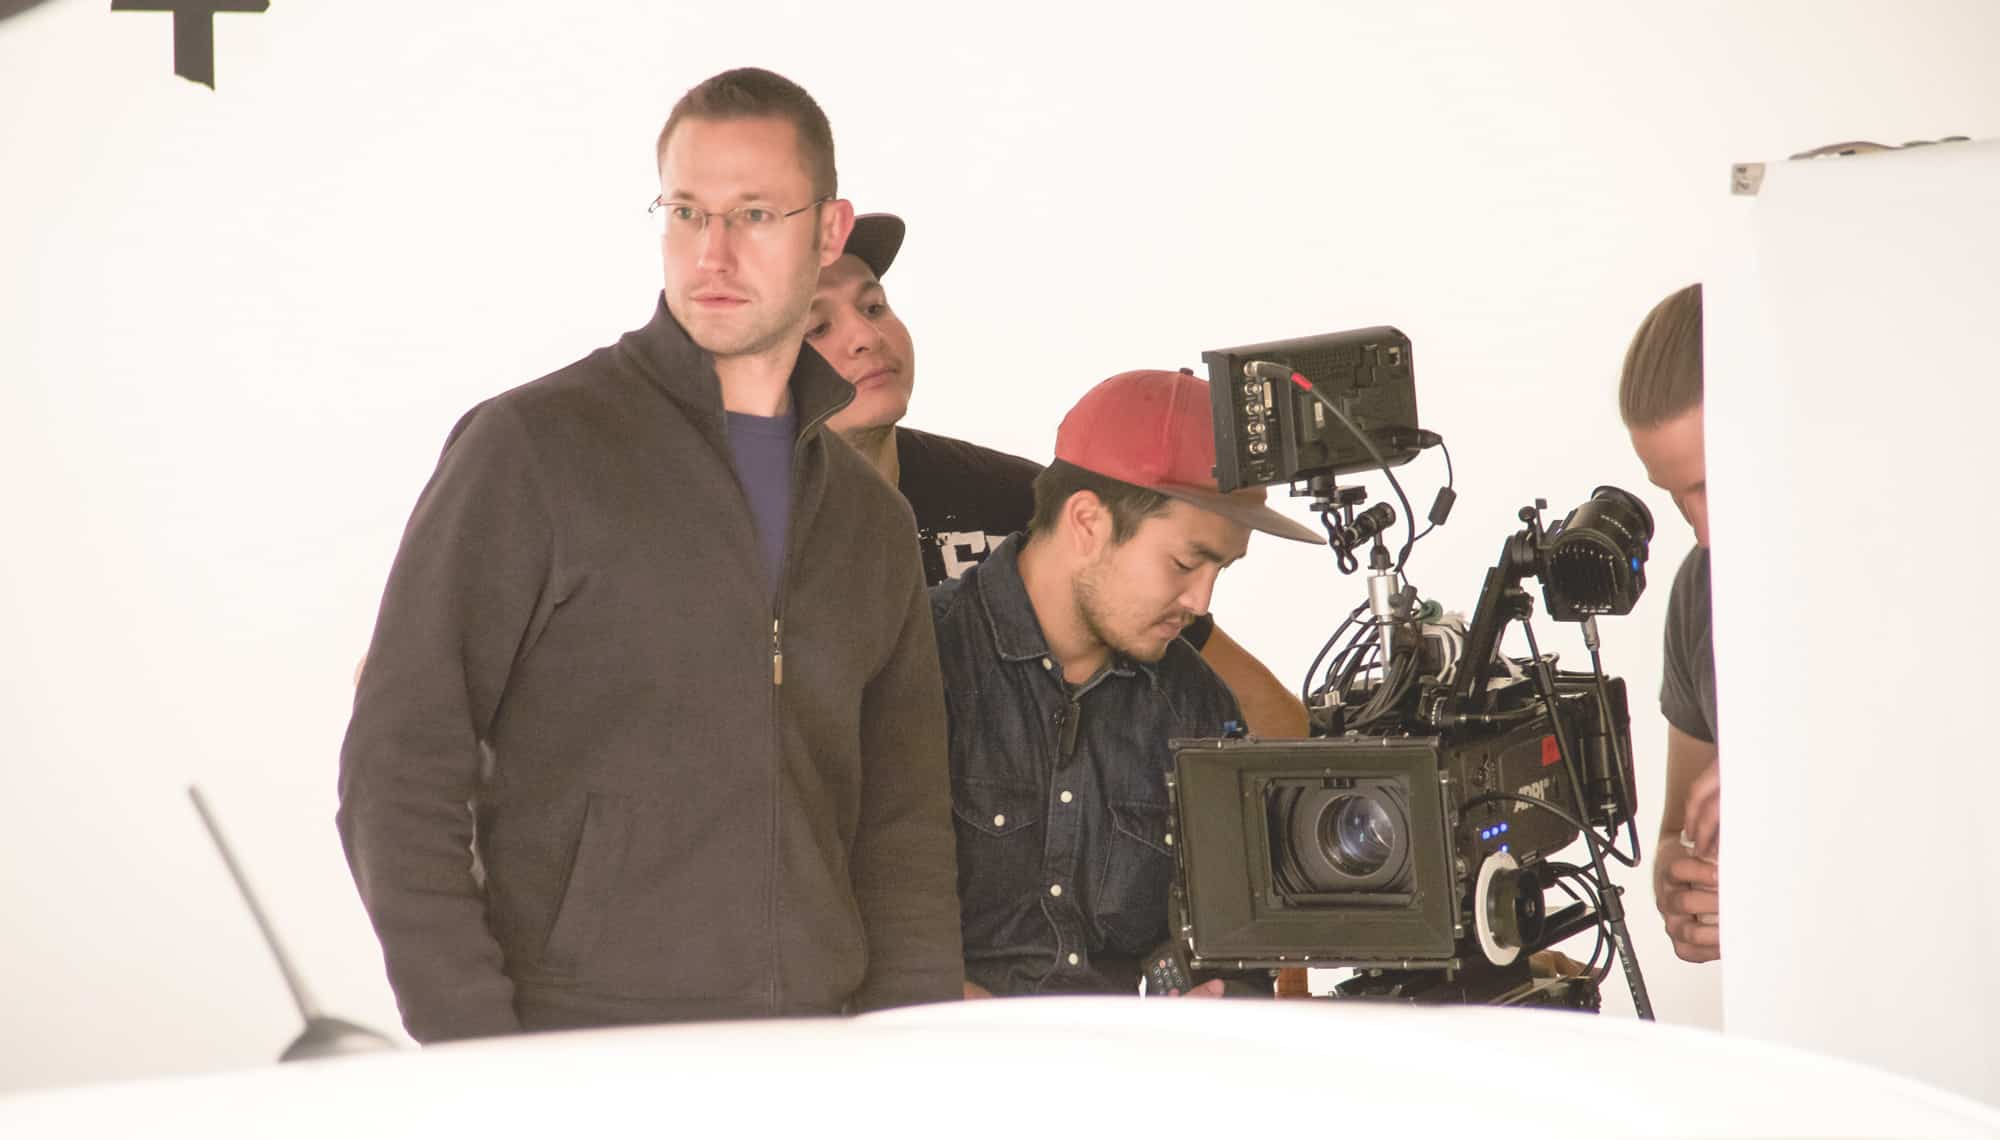
The cinematographer, also known as the director or photography (DP) is one of the three key people responsible for the look of the movie. With the production designer crafting the look of the environment, and the director responsible for the actor’s performances in that environment, the cinematographer photographs the action, creating a look through light and the lens. That makes hiring the best available cinematographer the smartest decision you can make for your film.

A good cinematographer’s skills are robust:

  • Understand the story and how to ensure each scene has proper coverage
  • Understand the technicalities of lighting and the lens
  • Know how to create emotion through lighting, lens choice, camera movement, and color grading
  • Know how to lead the crew
  • Know how to balance the director’s wishes against the realities of the production – especially if it is a first time or inexperienced director
  • Know what it takes to shoot each scene to make sure the production ends up on time and on budget

These skills and experiences develop over time; through working with different directors on different projects.  Each genre, budget, location, and project type – from commercial to feature film – has its own challenges, and it only through working through these on set that the DP will truly gain experience.

It used to be that many film school graduates began their careers by working in a camera rental facility sweeping floors, driving trucks and trying to make connections with cinematographers as they came in to rent cameras for real productions. If they were successful in making a good contact, they may get a job as a 2nd AC on a feature. The 2nd AC is in charge of loading the film, maintaining camera logs and marking each shot with the clapboard.  After working on a few dozen features as a 2nd AC, he would be able to move his way up to a 1st AC. Responsible for pulling focus, setting up, maintaining and moving the camera, the 1st AC will work in this capacity for several dozen films until he graduates to the camera operator position. After years of working in the camera department, the camera operator may be offered the DP position on a small project.

The second, more common route was through the electric department, from electrician to gaffer to DP.  It’s easier to find a camera operator who knows a particular camera than it is to find a person skilled at lighting, and because lighting is the cornerstone of good cinematography, the best DPs are masters of light.  Yes, knowing the camera is important, but a good DP knows the physics of the lens, understands the dynamic range of the camera’s imaging sensor, and the color curves. As far as the actual operation of the camera itself, he relies on the camera operator and 1st AC to build, set-up, and manage the camera.

Today, with the affordability of high-quality digital camera systems, many aspiring DP’s purchase their own gear and begin a career as a DP, bypassing the traditional Hollywood system. Although these young DPs may know how to produce a quality image, their lack of experience in the production process can be detrimental to you and the movie. Remember a good DP needs two basic skills – a keen photographic eye and the experience to successfully guide the production to completion. Recent film school grads often lack the real-world experience of constructing a long-term production from concept to completion – and you don’t want your film to be their training ground.

When it comes time to hire the DP, consider the following tips to help you find the best, most qualified person:

  • Contact your local film commission, post an ad on craigslist.org or any crew web site, and ask for online links to web sites and demo reels. When you begin looking at DP reels, look at:
    • Are the shots well framed and motivated by the story?
    • Is there a strong visual continuity from shot to shot? Even though this responsibility ultimately lies with the director, if the shots don’t work, then ask why the DP didn’t help the director improve the quality of coverage.
    • Does the lighting have a style that positively contributes to the story? Does the picture look professional? Are there any shots that are over- or underexposed?
    • How does the camera move? Are camera movements necessary and do they contribute to the story, or are they frivolous?
    • Does the cinematography pull you into the story?
  • Meet with prospective DPs to see if your styles are compatible. Look at her demo reel and talk to her about her approach to lighting a scene. Discuss your story and see if it resonates with her. Much like auditioning an actor, your quest to find a cinematographer lies not only in your comfort level with her craft, attitude, and professionalism, but also in her ability to work with you to fulfill your vision.
  • Once you choose your DP, sit down with him and show him scenes from movies that you like the look of. Gather various examples of styles, camera movements, and lighting that you’d like to see in your movie and listen as the DP explains how to approach these styles. You both should be on the same page as to the style and look of the movie, enabling the DP to determine the equipment needed for the production. Discuss:
    • Camera movement: Are you looking for static setups? Tableau shots? Handheld, documentary-style shots? Dolly or crane moves? Steadicam? Long takes? Short takes? How are you looking for the camera to interact with the environment and the set?
    • Lighting: Are you looking for flat (1960s Technicolor), colorful (Amélie), black and white (Schindler’s List), monochromatic (Minority Report) or tinted lighting (The Matrix)?
    • Style: Do you want a documentary (Babel, Traffic), poetic (Amélie), or dramatic (Titanic) style?
    • Editing: How will the movie be cut together? Are you using long shots? Quick, rapid MTV-style cuts?
    • While discussing these elements, an experienced DP will be able to help you balance your vision with the realities of production, scheduling, and equipment availability. Listen to him… he will be your greatest asset on set.
  • Contact other directors with whom each DP worked.  Ask about his demeanor on set, how he addressed challenging situations, and how the crew felt.
  • Contact editors of the DP’s projects to see how well his footage cut together in the editing room. You don’t want to exhaust your resources and money on set only to find that you don’t have proper coverage in the editing room.

The key to a successful collaboration with the DP is open communication of ideas, thoughts, and technical tehniques. Never hesitate to ask questions and always understand the complexities of achieving your vision – always tell the DP what you want and trust him to figure how to do it.

The Sun – A Cinematographer’s Biggest Light Source

Summertime is finally here, and so are challenges of shooting outdoors in the harsh summer sun. Although the winter months provide us with plenty of diffused cloud cover to properly expose out actors, the harsh, direct summer sun can be problematic when the light and shadows fall outside the contrast ratio of the camera.

In working with the sun, treat it in the same way you’d treat the key or rim light. The only difference is that you need to move the subject and camera to position the sun in the ideal location. Many times, locations are selected because of their east-west orientation, enabling the Director of Photography and 1st assistant director to schedule specific shots based on the sun’s position.

Working with sunlight begins by choosing the position of the subject relative to the position of the sun. There are two ways to approach shooting using the sun as the primary light source:

  • Use the sun as the key light – Position the actor so the sun is illuminating the far side of the actor’s face, opposite the actor’s eye line. This is much easier to do before 11:00 AM and after 4:00 PM, when the sun hangs lower in the sky. Avoid shooting near noon, because the sun tends to cast shadows on the actor’s brow, creating deep, cavernous shadows over the actor’s eyes. Use a bounce board to fill in some of the shadows, especially if the sun is too direct.
  • Use the sun as a rim light – Position the actor so the sun is positioned behind her, then use a bounce board or reflector to bounce the sunlight as the key light. I would recommend using a silver reflector available at most camera stores.

Here are some tips for getting a great shot in direct sunlight:

  • How much workable daylight is there – The 1st assistant director will look at the script and estimate the amount of time needed to shoot a particular scene, or to shoot all the scenes at one given location. He will then determine whether there is enough workable sunlight to be able to complete your shot list.
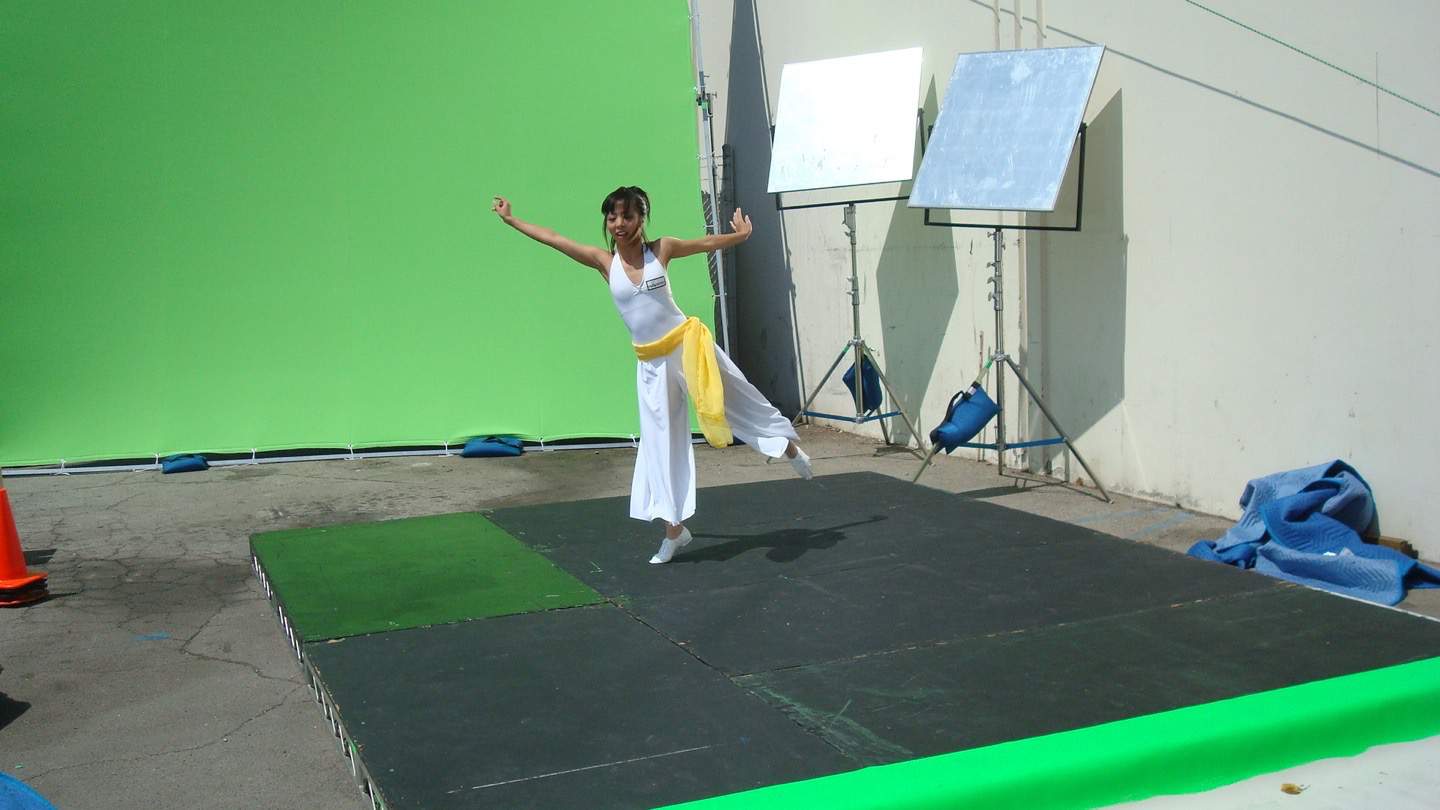
  • How much time will it take to chase the sun – Chasing the sun is a term that refers to the constant adjustments to the grip equipment needed to compensate for the sun’s movement. Reflectors, diffusion and overheads all need to be moved, which takes time and manpower. The schedule will determine whether the day will permit extensive rigging changes.
  • Are there geological or architectural features that will cut into the sunlight – Sunlight calculators provide sunset and sunrise times based on the moment the sun crests the horizon to the time the sun dips below the horizon. The actual time may vary if the sun travels behind a building or a mountain range. Often, location scouts will perform a light survey, during which they sit at a location all day and note the exact times of direct sunlight. These times are important to know when determining the daily shooting schedule.
  • Plan for lighting changes – A good director of photography will be able to plan not only camera angles to allow a consistent look of the lighting throughout the day, but determine a way to shape the changing sunlight so the look of the final footage is consistent in the scene. Often this involves flying a large 20’x20’ silk over the set so direct sunlight is diffused, then focusing the direction of the sunlight with shiny boards.
  • Be prepared for weather changes – Even the best-laid plans are subject to a cloudy day, where overcast conditions make it much more difficult to reflect light. Instead of bouncing light to increase the illumination levels on one side of your subject, DPs will use solids to reduce the light, creating negative fill on the opposite side of the actor. Whether you add light to one side or subtract light from the other, the goal is to create a consistent contrast ratio from shot to shot.
  • Make sure you have room to rig – Reflectors and overheads can take up a lot of space, so when scouting a location, make sure there is ample room to rig the necessary fixtures. Sometimes, it becomes necessary to place reflectors on nearby building rooftops, or rig overhead silks to a neighboring structure. Be sure to discuss these requirements with the location manager so she can secure all necessary permissions and permits from surrounding property owners.

Remember, the sun is a giant light source that can be diffused, bounced, reflected and blocked. With a little creativity, you can help shape sunlight to create the best possible image for your production.

Choose the Best Camera for Documentary Filmmaking

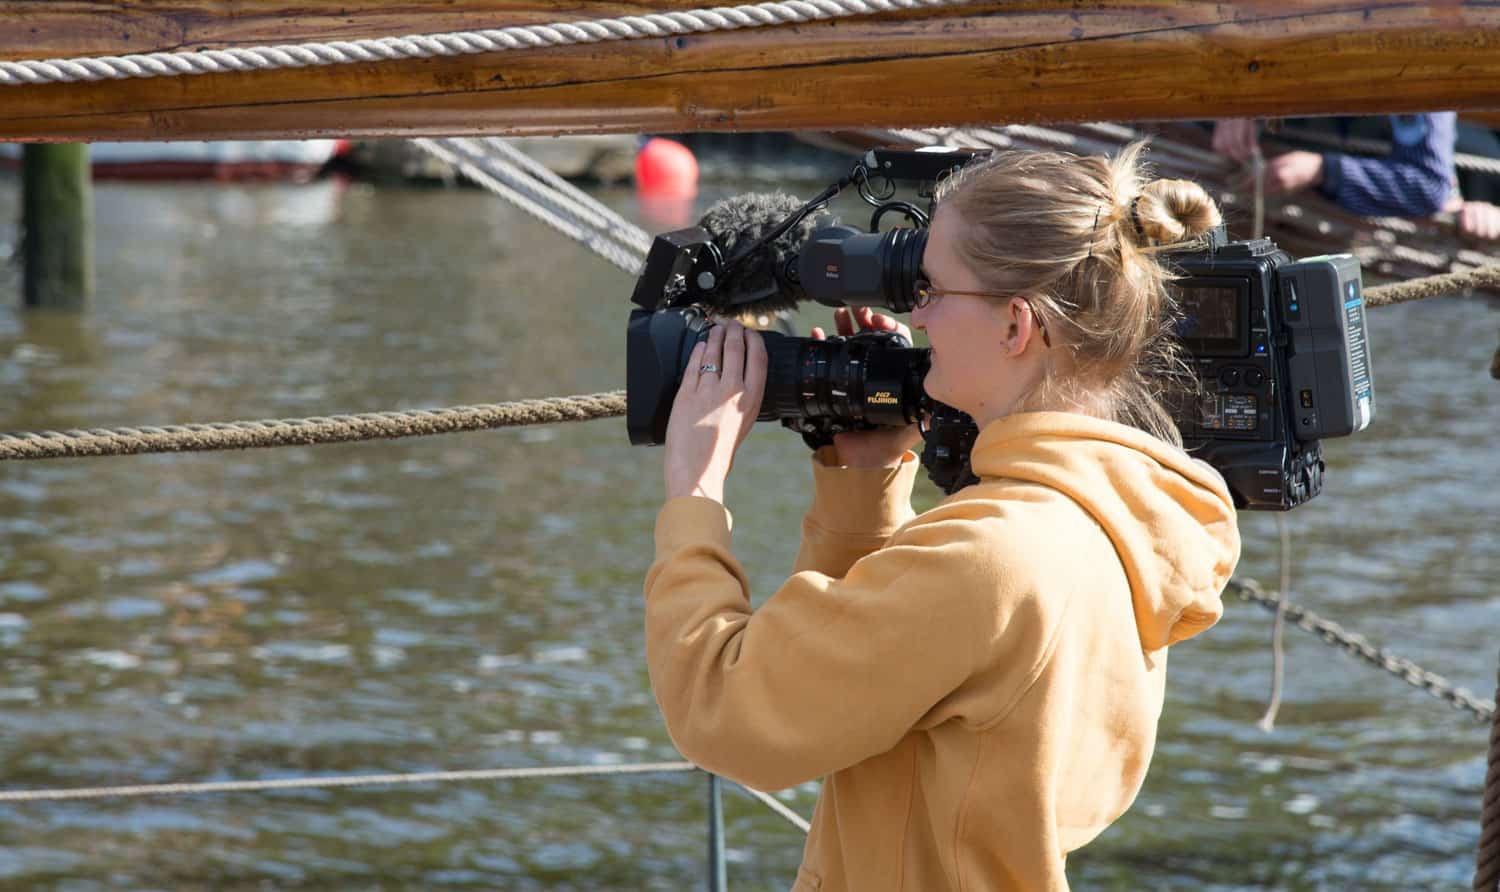
Over the past decade, cameras have empowered filmmakers with higher resolutions, better optics, and smaller camera bodies, making them easier to carry and use in the field. But, with all the options available, what cameras should you choose? Although larger cameras can shoot better images, smaller cameras are ideal in the field since they don’t draw attention to themselves.

The good news is, people want to obsess about the camera, I don’t know necessarily it’s about the camera. It’s about the eye behind the camera, the brain behind the camera, so pretty much you can shoot documentaries, good documentaries on any camera as long as the camera is rolling and is in the right place. It’s just getting easier now because [the cameras] are getting smaller, and we don’t have to shoot film and we can edit it at home, and all that stuff. That’s the really good news.

– Dana Kupper, Cinematography, “The New Americans,” “The Trials of Muhammad Ali,” “On Beauty,” and “In the Game”

There are several factors to consider when picking a camera:

  • What is the resolution and acquisition format? – Always consider how the film will be exhibited and what format distributors will require. Many cameras today easily meet distribution requirements when shot in 1080p HD, however some distributors prefer certain CODECs over others.  For example, some broadcast stations will not accept HDV for the overly compressed signal.
  • Can it be easily packed and traveled with? – If you’re traveling on the road or by air, smaller cameras can be carried in carry-on luggage much easier than larger ENG-style cameras.
  • Will the size of the camera matter in the environment in which you’re shooting? – Are you shooting in a dangerous setting – a riot, politically unstable country or a theft-prone area? The smaller the camera, the easier it will be to fade into the background.
  • Will you need to purchase and carry multiple cameras for interviews or to split off separate teams?  GoPros, and even off-the-shelf cameras can be used to capture broadcast-quality footage, enabling you to use multiple cameras on a small budget.
  • On what type of media does the camera shoot? – The choice between tape and solid state matters depending on your shooting environment. Cameras that record to solid state media such as P2 cards, SD, and CF cards do not have any moving parts like their older tape-based cameras.  Solid state cameras can function better in extreme conditions with more reliable functionality.